 Decks
DecksiPhone
Start with the steps below. Editing tools appear beneath the canvas; tap the active tool to hide or show its controls.
iPad
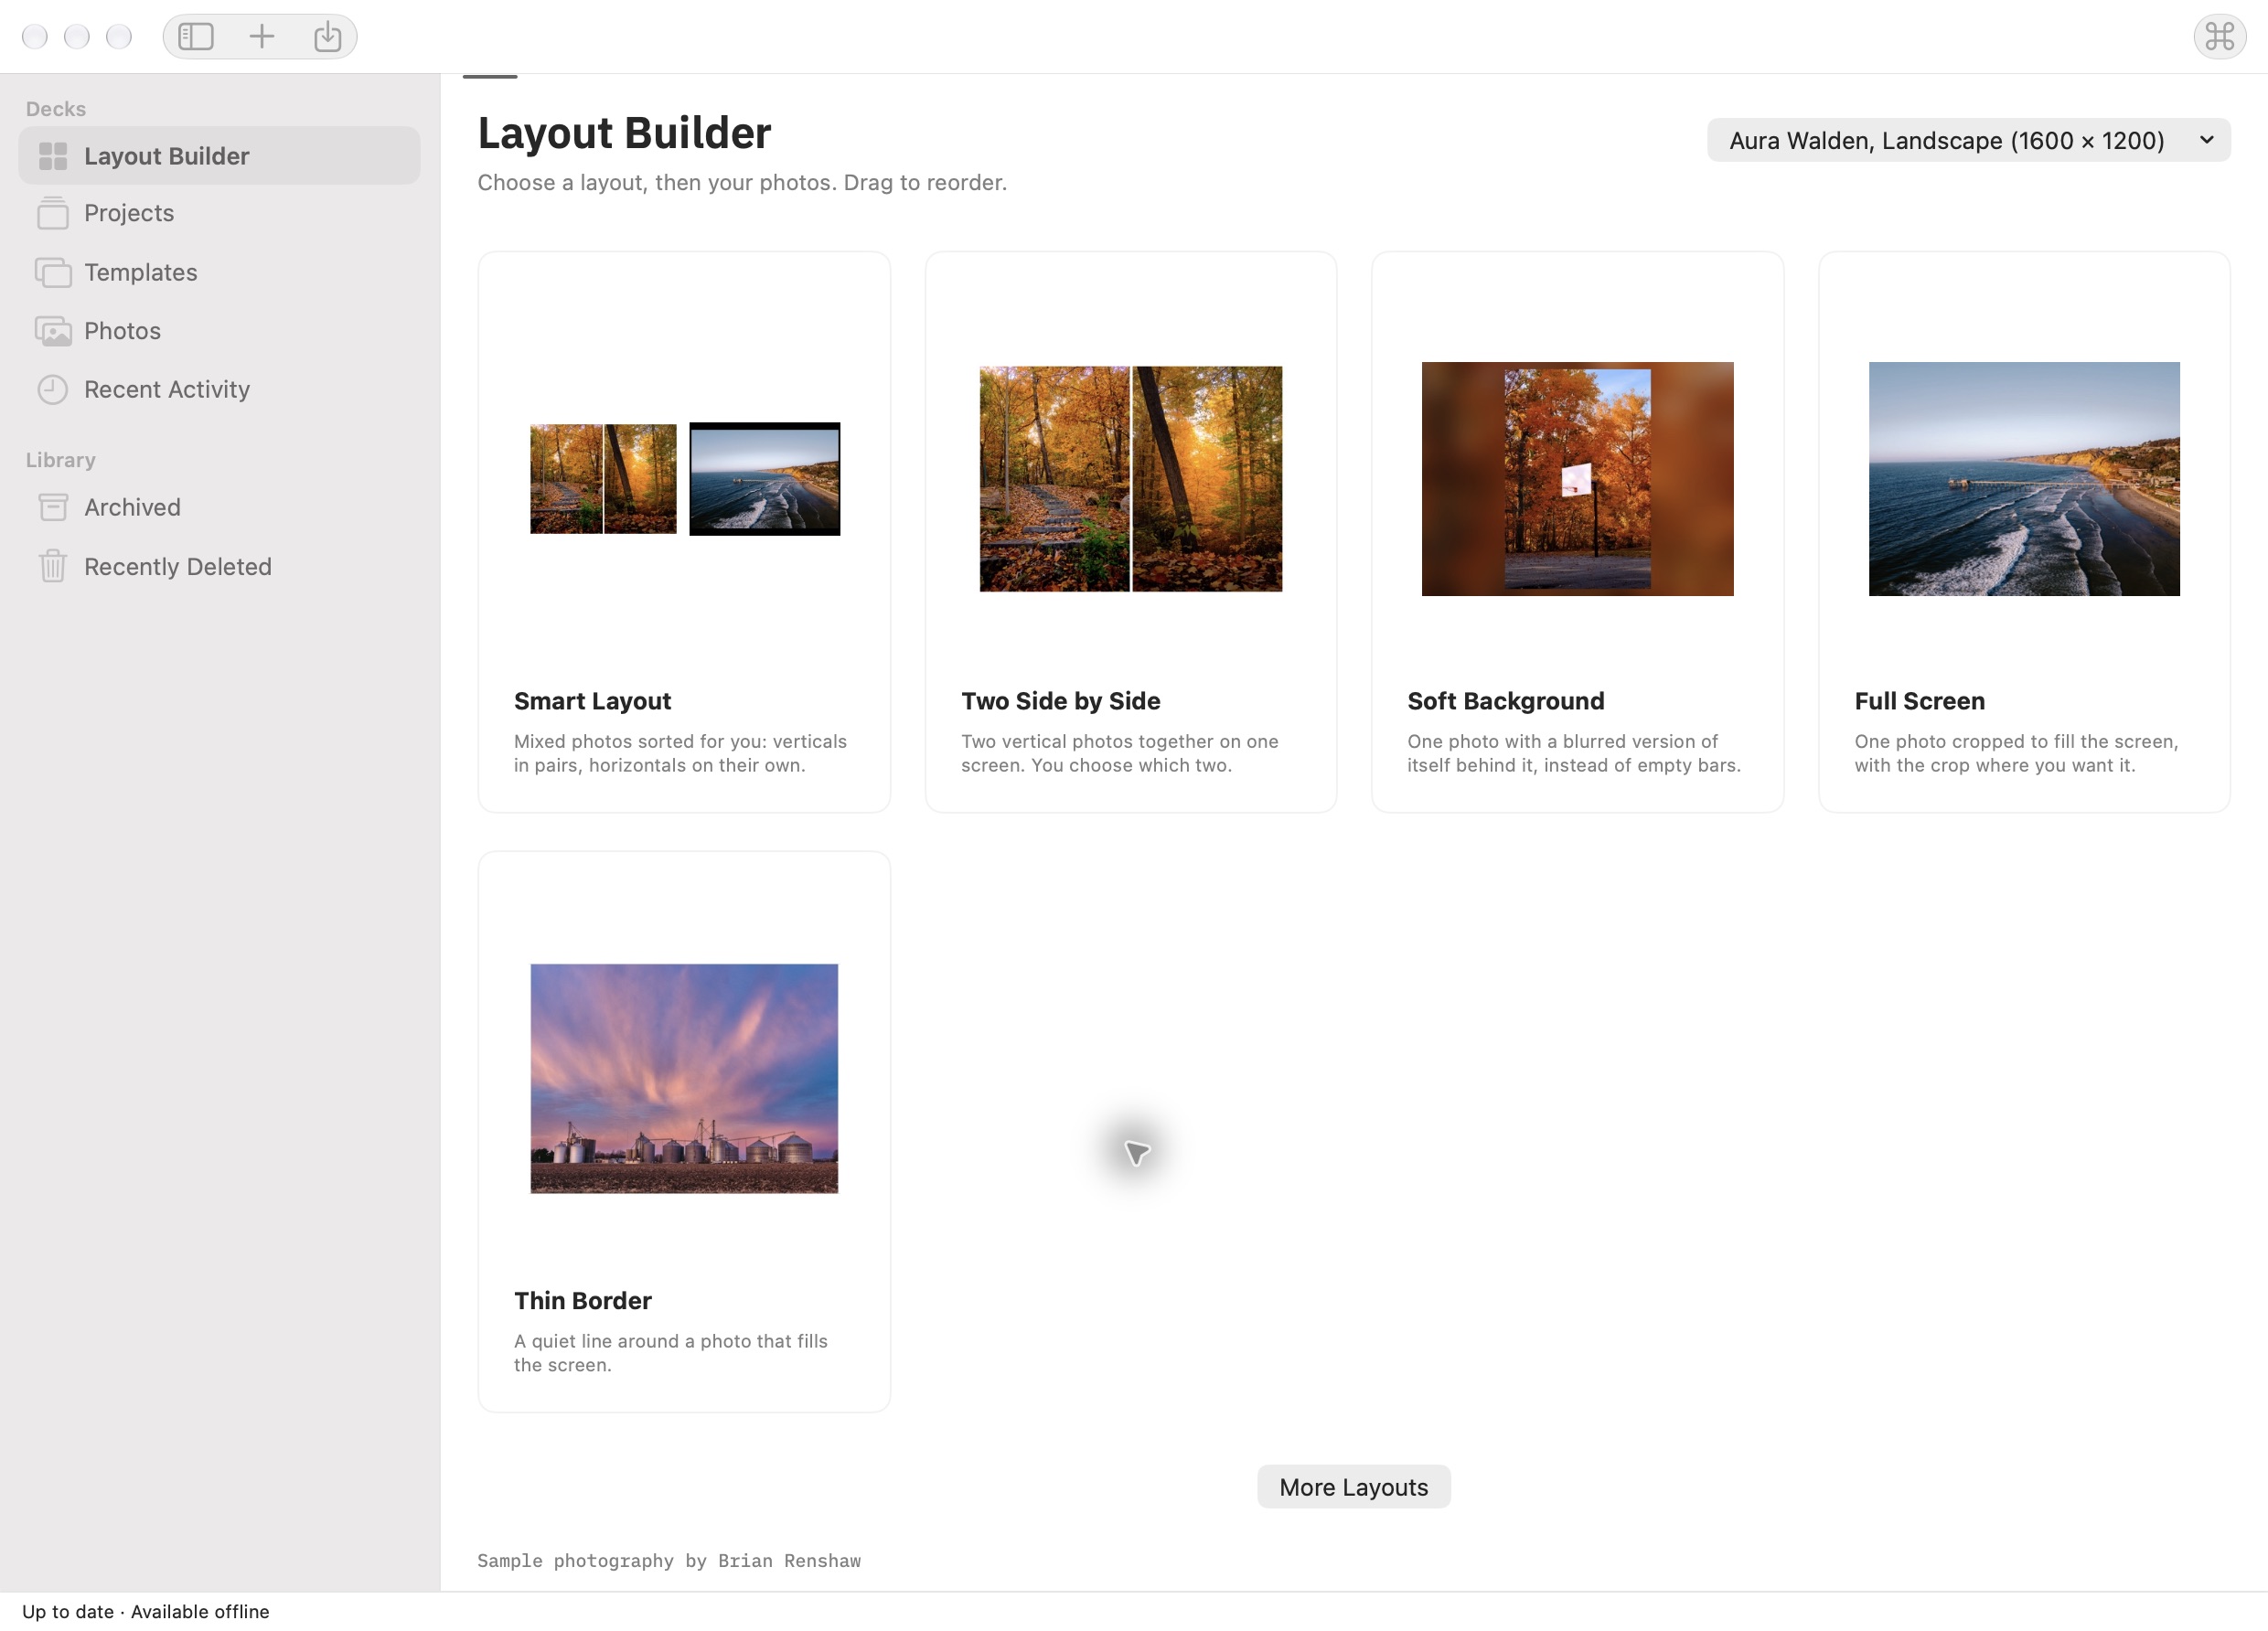
Use the same task steps. The sidebar gives you access to Layout Builder, Templates, and Projects. In a wide editor window, controls can sit alongside the canvas; narrower windows use the compact panel. A missing control may be inside a collapsed section or the page’s options.
Choose your frame
- In Settings → Destinations, choose Add a Photo Frame. Select your Aura model and orientation.
- Return to Layout Builder, choose that frame in the size menu, then choose Smart Layout. Select the photos you want to prepare together.
Review the automatic arrangement
- For a landscape frame, vertical photos are paired two to a page and horizontal photos get their own pages. An unmatched vertical photo gets a soft background. Square photos get their own pages.
- For an upright frame, horizontal photos are stacked in pairs and vertical photos get their own pages.
- Within each group, Decks starts in capture-date order when dates are available. This is an arrangement by photo shape, not face recognition or subject matching.
Choose the pairs and their look
- Tap two photos in the pairing group to swap them, or hold a photo and drag it onto another. You choose which photos belong together.
- Choose White or Black for the pair background. For individual pages, choose White Border, Black Border, or Fill. Fill crops the photo to cover the screen; check faces and edges.
- Create the project and review the crop on each page in the editor. You can continue editing the result.
Export and upload through Aura
- Export the finished pages as images to Photos. Upload those files using the Aura app and check its crop preview.
- A paired Decks page is one exported image, so the two photographs stay together rather than being left to Aura’s automatic pairing. Decks does not connect to your Aura account.
- Save a design you like as a template. To sort another mixed batch by its photo shapes, start Smart Layout again.
Mac
Start a mixed batch
- Open Decks → Settings → Destinations → Add a Photo Frame. Select your frame and orientation, click Done, then Save Changes.
- Open Layout Builder (⌘1), choose the frame from the page-size menu, and click Smart Layout. Choose Apple Photos or Files to select your photos.
Review, swap, and finish
- Review Vertical Pairs and Horizontal Photos for a landscape frame, or Horizontal Pairs and Vertical Photos for a portrait frame. An unmatched photo in the pairing group uses a soft background.
- Click two photos to swap them, or drag one onto another. Choose White or Black for pairs and White Border, Black Border, or Fill for individual pages.
- Create the project, review its pages, and use File → Export to save images to Photos or a folder. Upload through Aura. The same grouping and crop considerations above apply on Mac.