 Decks
DecksiPhone
Start with the steps below. Editing tools appear beneath the canvas; tap the active tool to hide or show its controls.
iPad
Use the same task steps. The sidebar gives you access to Layout Builder, Templates, and Projects. In a wide editor window, controls can sit alongside the canvas; narrower windows use the compact panel. A missing control may be inside a collapsed section or the page’s options.
Add camera details
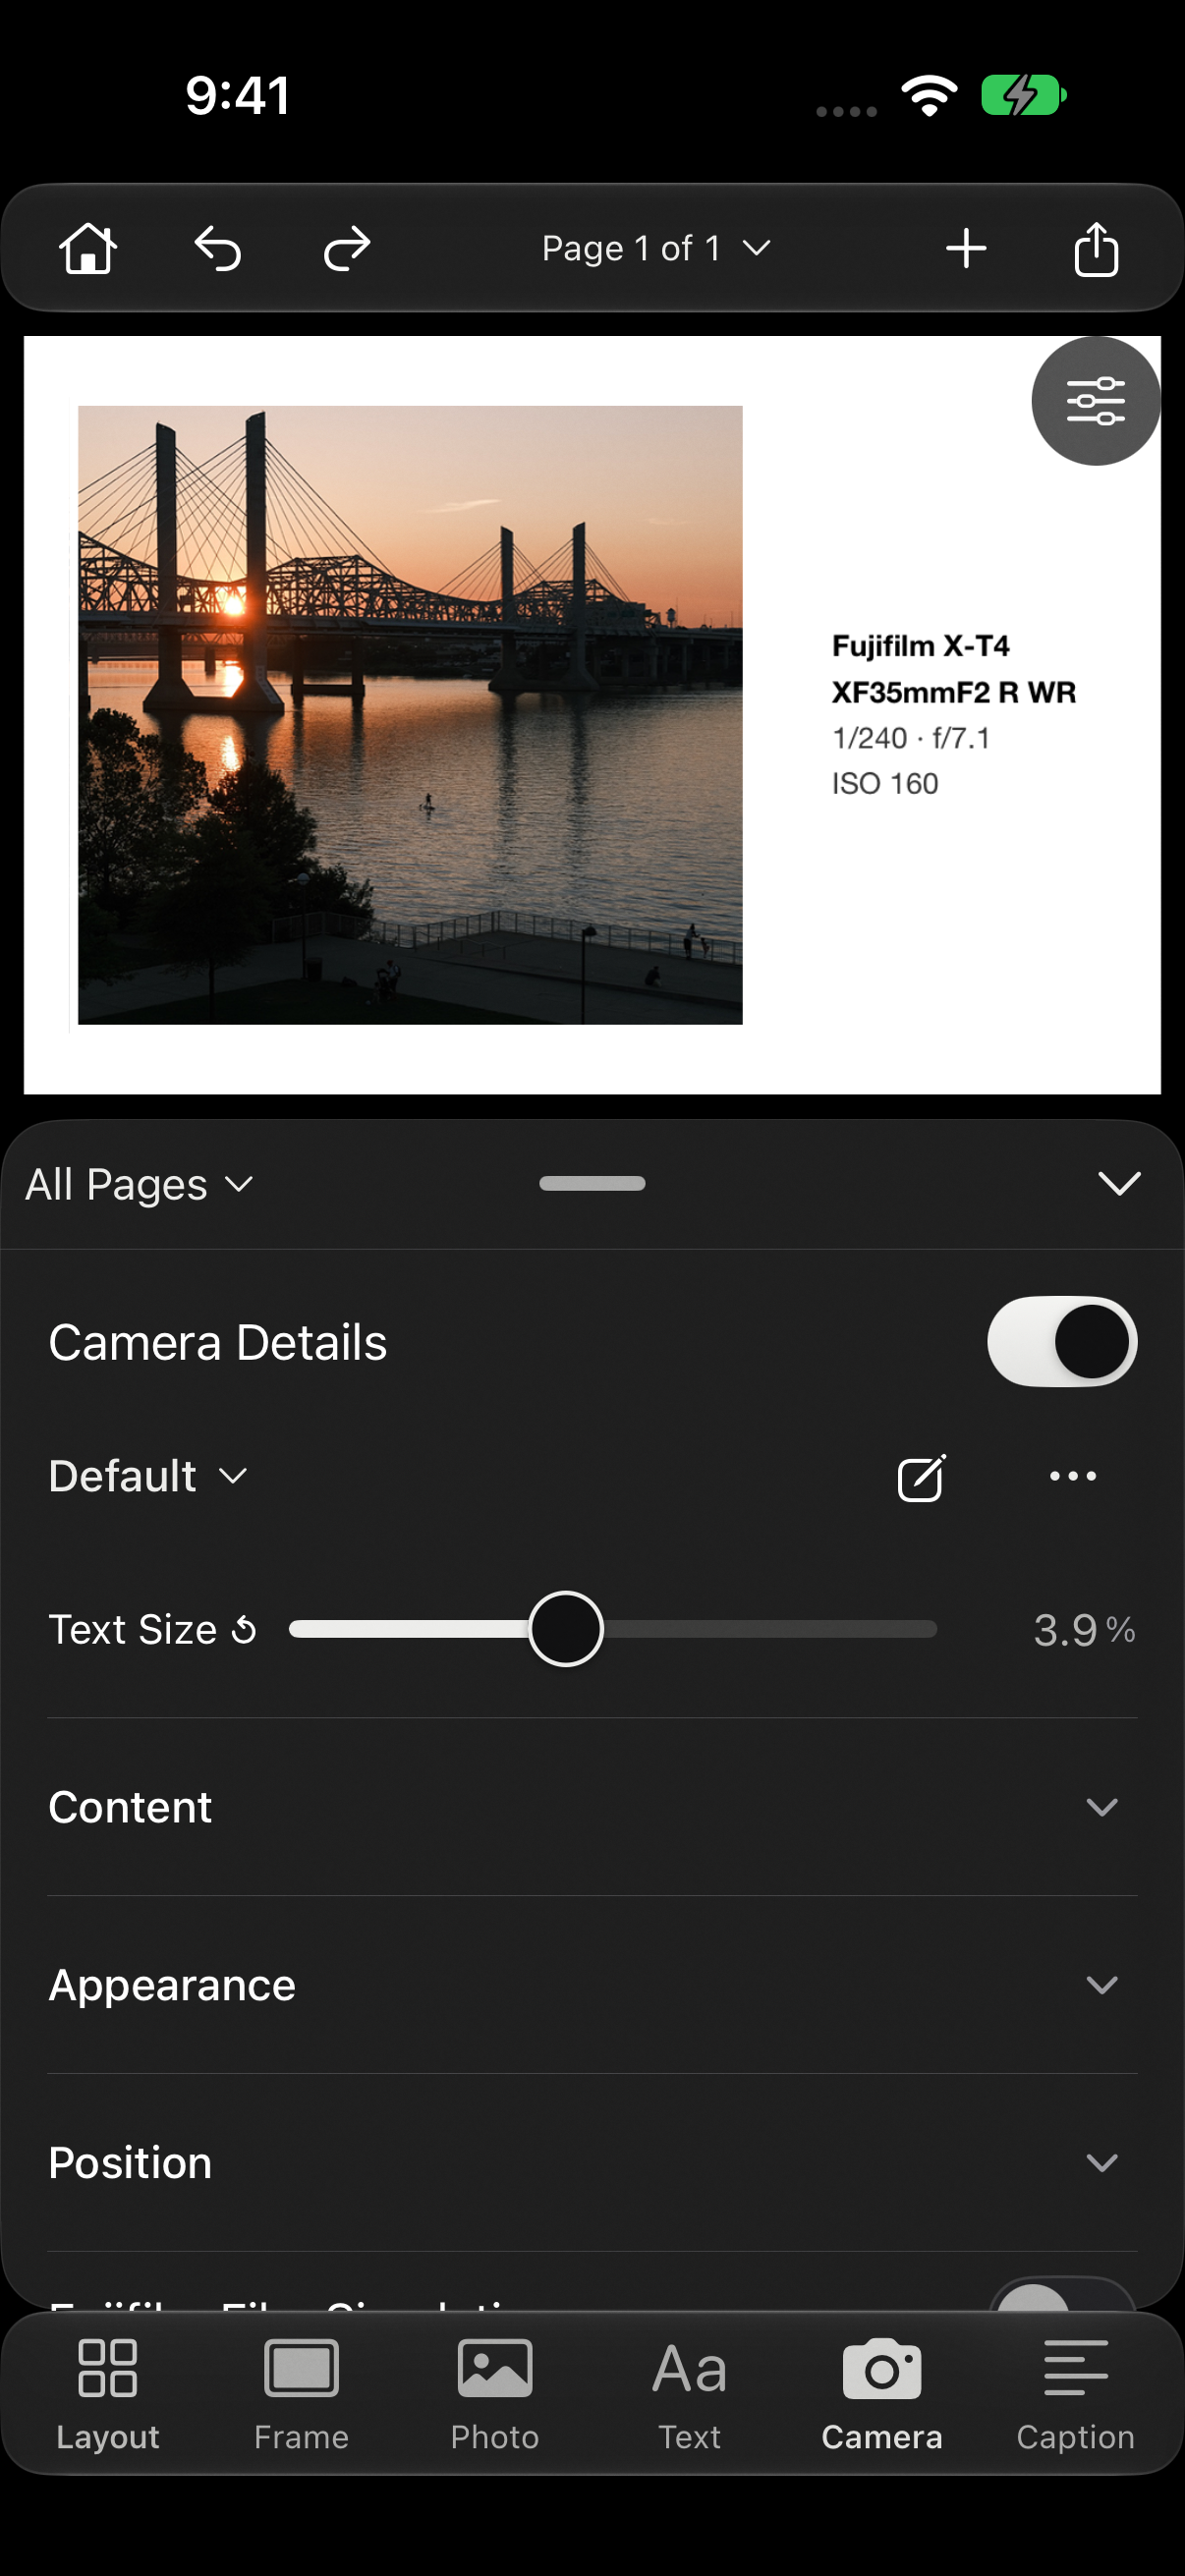
- Enable camera details at the end of a template walkthrough, or open Camera in the editor to add them to the current photo.
- Choose a detail design and the fields you want to show, such as camera, lens, shutter speed, aperture, or ISO.
- Use the Camera Details library for reusable detail designs. These stay separate from the full-page templates in Templates.
Edit the look
- Select the details to change their appearance, spacing, size, and background using the Camera controls.
- For a Shot with Halide credit, tap it to open its controls. Change its wording, adjust its spacing and width, or remove its background.
- The Halide logo and text move as a group, so you don’t need to line them up separately.
Position and remove
- Drag the details into place. With Snap to Guides on, their center can lock across a visible border’s centerline while still moving along the border. An alignment guide shows the target.
- The same snapping works for grouped Halide credits. Turn Snap to Guides off in the editor’s options for unrestricted movement.
- Removing the last camera card recenters a single photo when no text or logo remains. Undo restores both the card and its arrangement.
When details are missing
- Decks can only read the metadata included in the imported file. Screenshots and photos saved by other apps may be missing camera or exposure information.
- Try the original photo, or use Settings → My Gear & Places and Custom Variables for information you want to supply yourself.
- Save your Fujifilm recipes in Settings → Fujifilm Recipes, then apply one in Photo Details. Film Simulation offers a list of choices. A saved recipe supplies its name and a separate Full Settings detail even when automatic detection is unavailable. Applying a recipe adds information; it does not change the photo’s colors.
Mac
Select a photograph and open Camera in the inspector. Enable Camera Details, choose the fields, then adjust appearance and placement. Manage film-camera information in Decks → Settings → My Gear and saved Fujifilm recipes in Settings → Recipes. A multi-photo page can have separate details for each photograph. Shot with Halide appears only for eligible single-photo pages whose original software metadata identifies Halide.