 Decks
DecksiPhone
Start with the steps below. Editing tools appear beneath the canvas; tap the active tool to hide or show its controls.
iPad
Use the same task steps. The sidebar gives you access to Home, Templates, and Projects. In a wide editor window, controls can sit alongside the canvas; narrower windows use the compact panel. A missing control may be inside a collapsed section or the page’s options.
Turn on the stamp
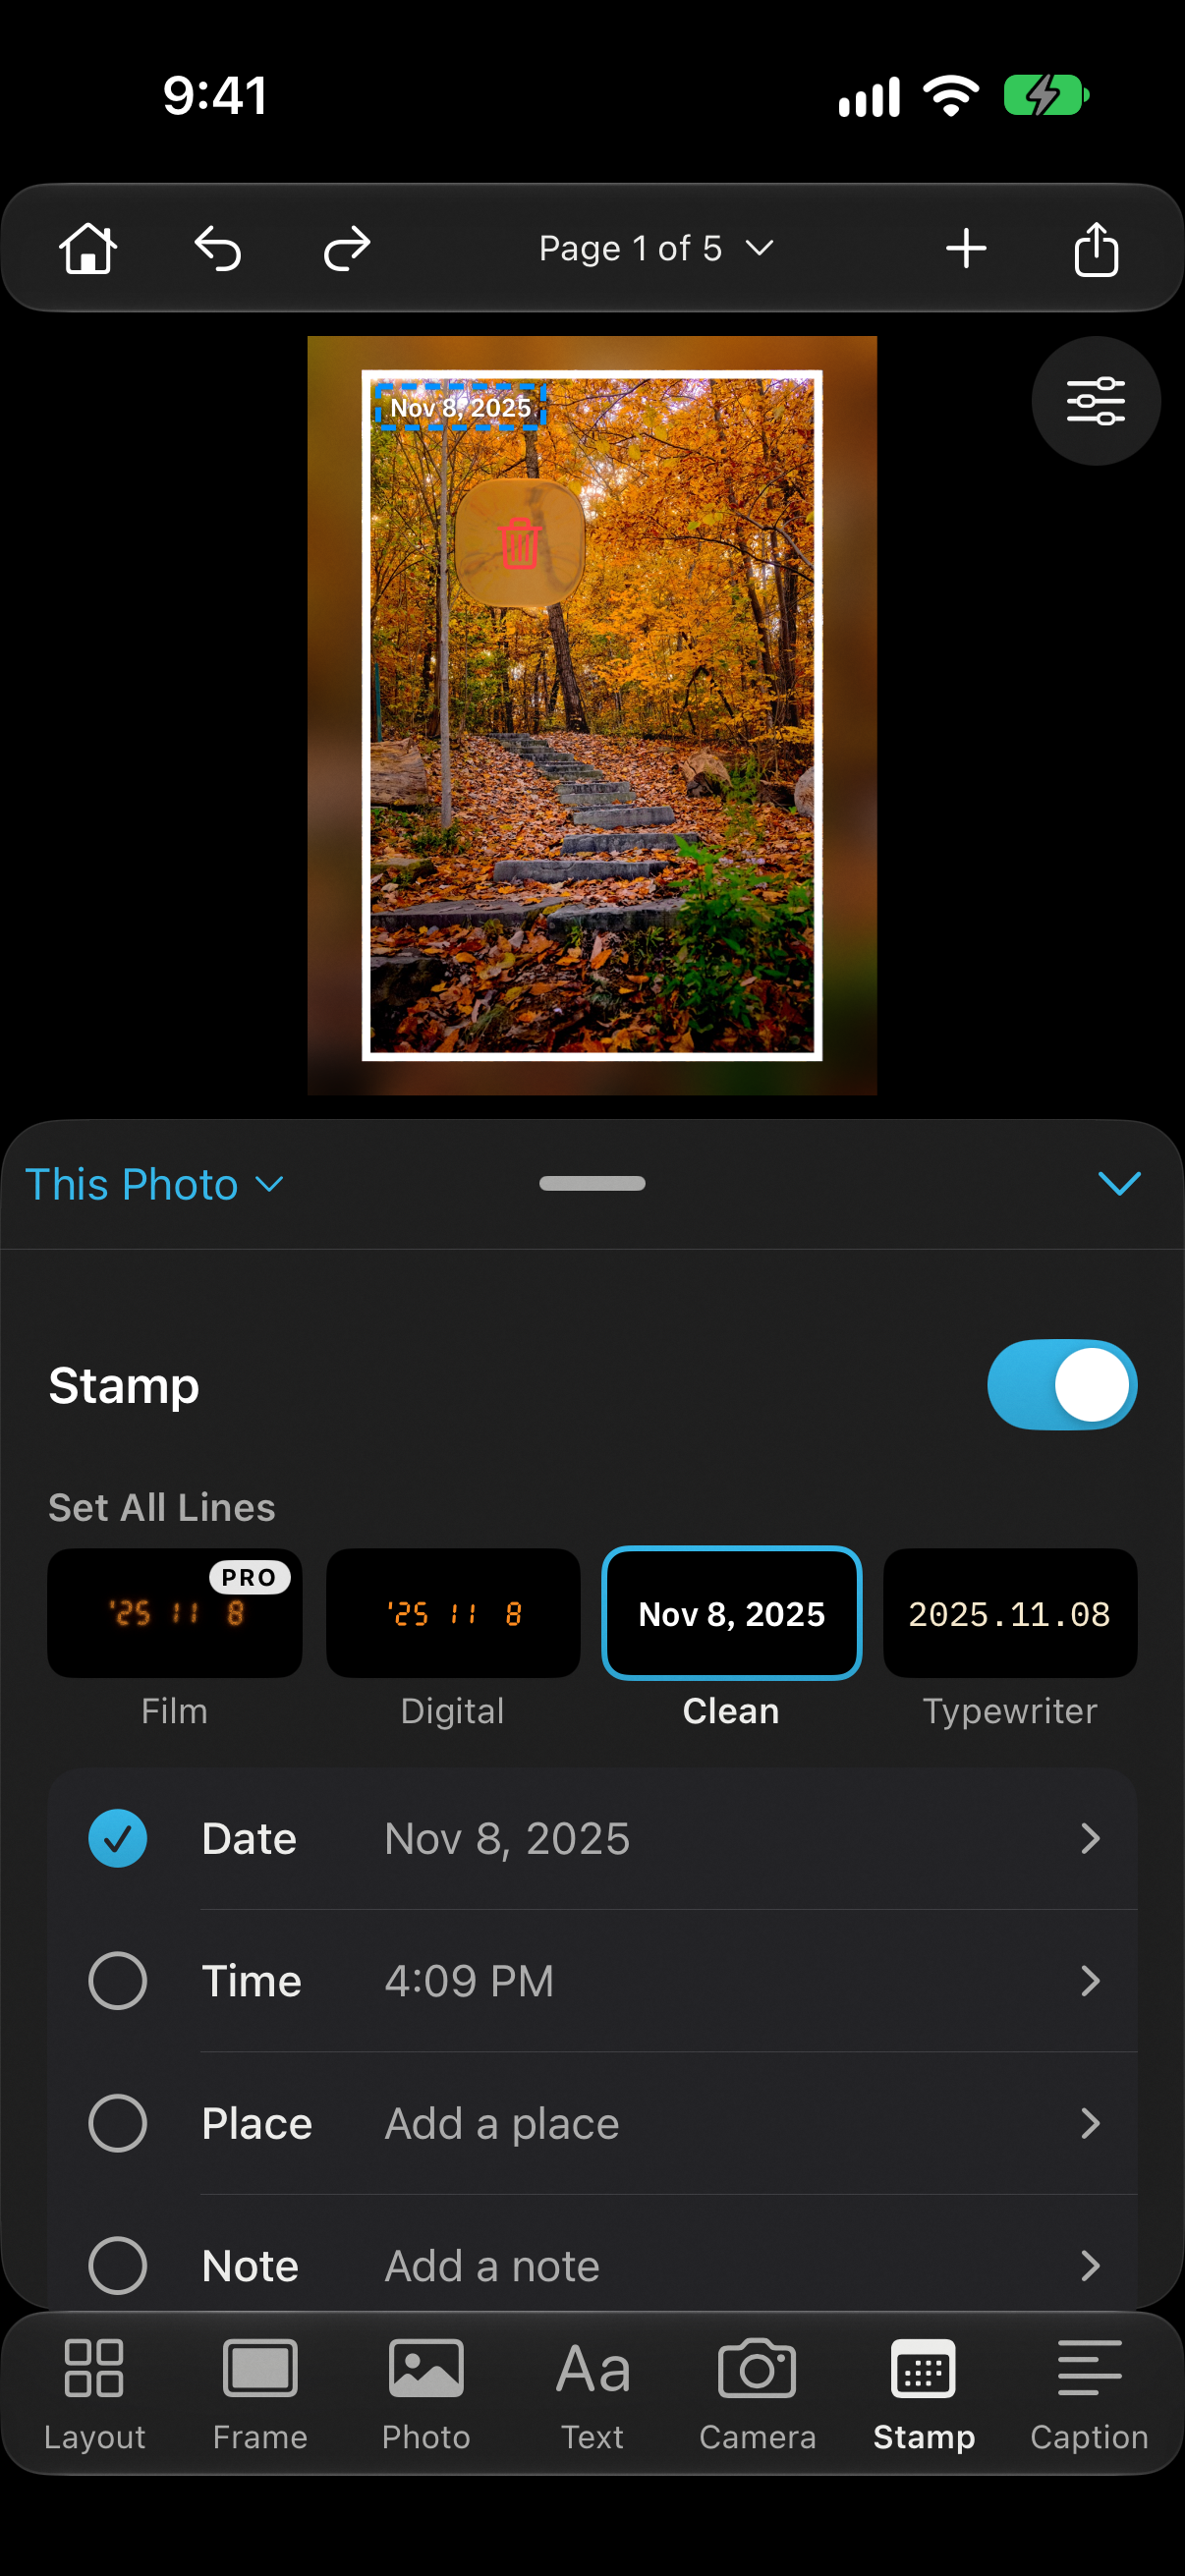
- Select a photo and tap Stamp in the tool strip, between Camera and Caption. Switch Stamp on. The stamp sits in the photo’s bottom-right corner, inside its frame.
- Set All Lines picks one style for every line: Film, Digital, Clean, or Typewriter. Film has the orange glow of a film camera’s date imprint and starts a little translucent. Each line can also have its own style.
- Use the menu at the top of the panel to choose what your changes apply to: This Photo, This Page, Selected Pages, or All Photos. Only the setting you change is applied; each photo keeps the rest. In Arrange, select pages and tap Edit Stamps to change only those pages.
- New stamps start with the last style you used.
Choose the lines
- Below the styles is a list of lines: Date, Time, Place, and Note. Each shows what it prints on this photo. Tap the circle beside a line to show or hide it.
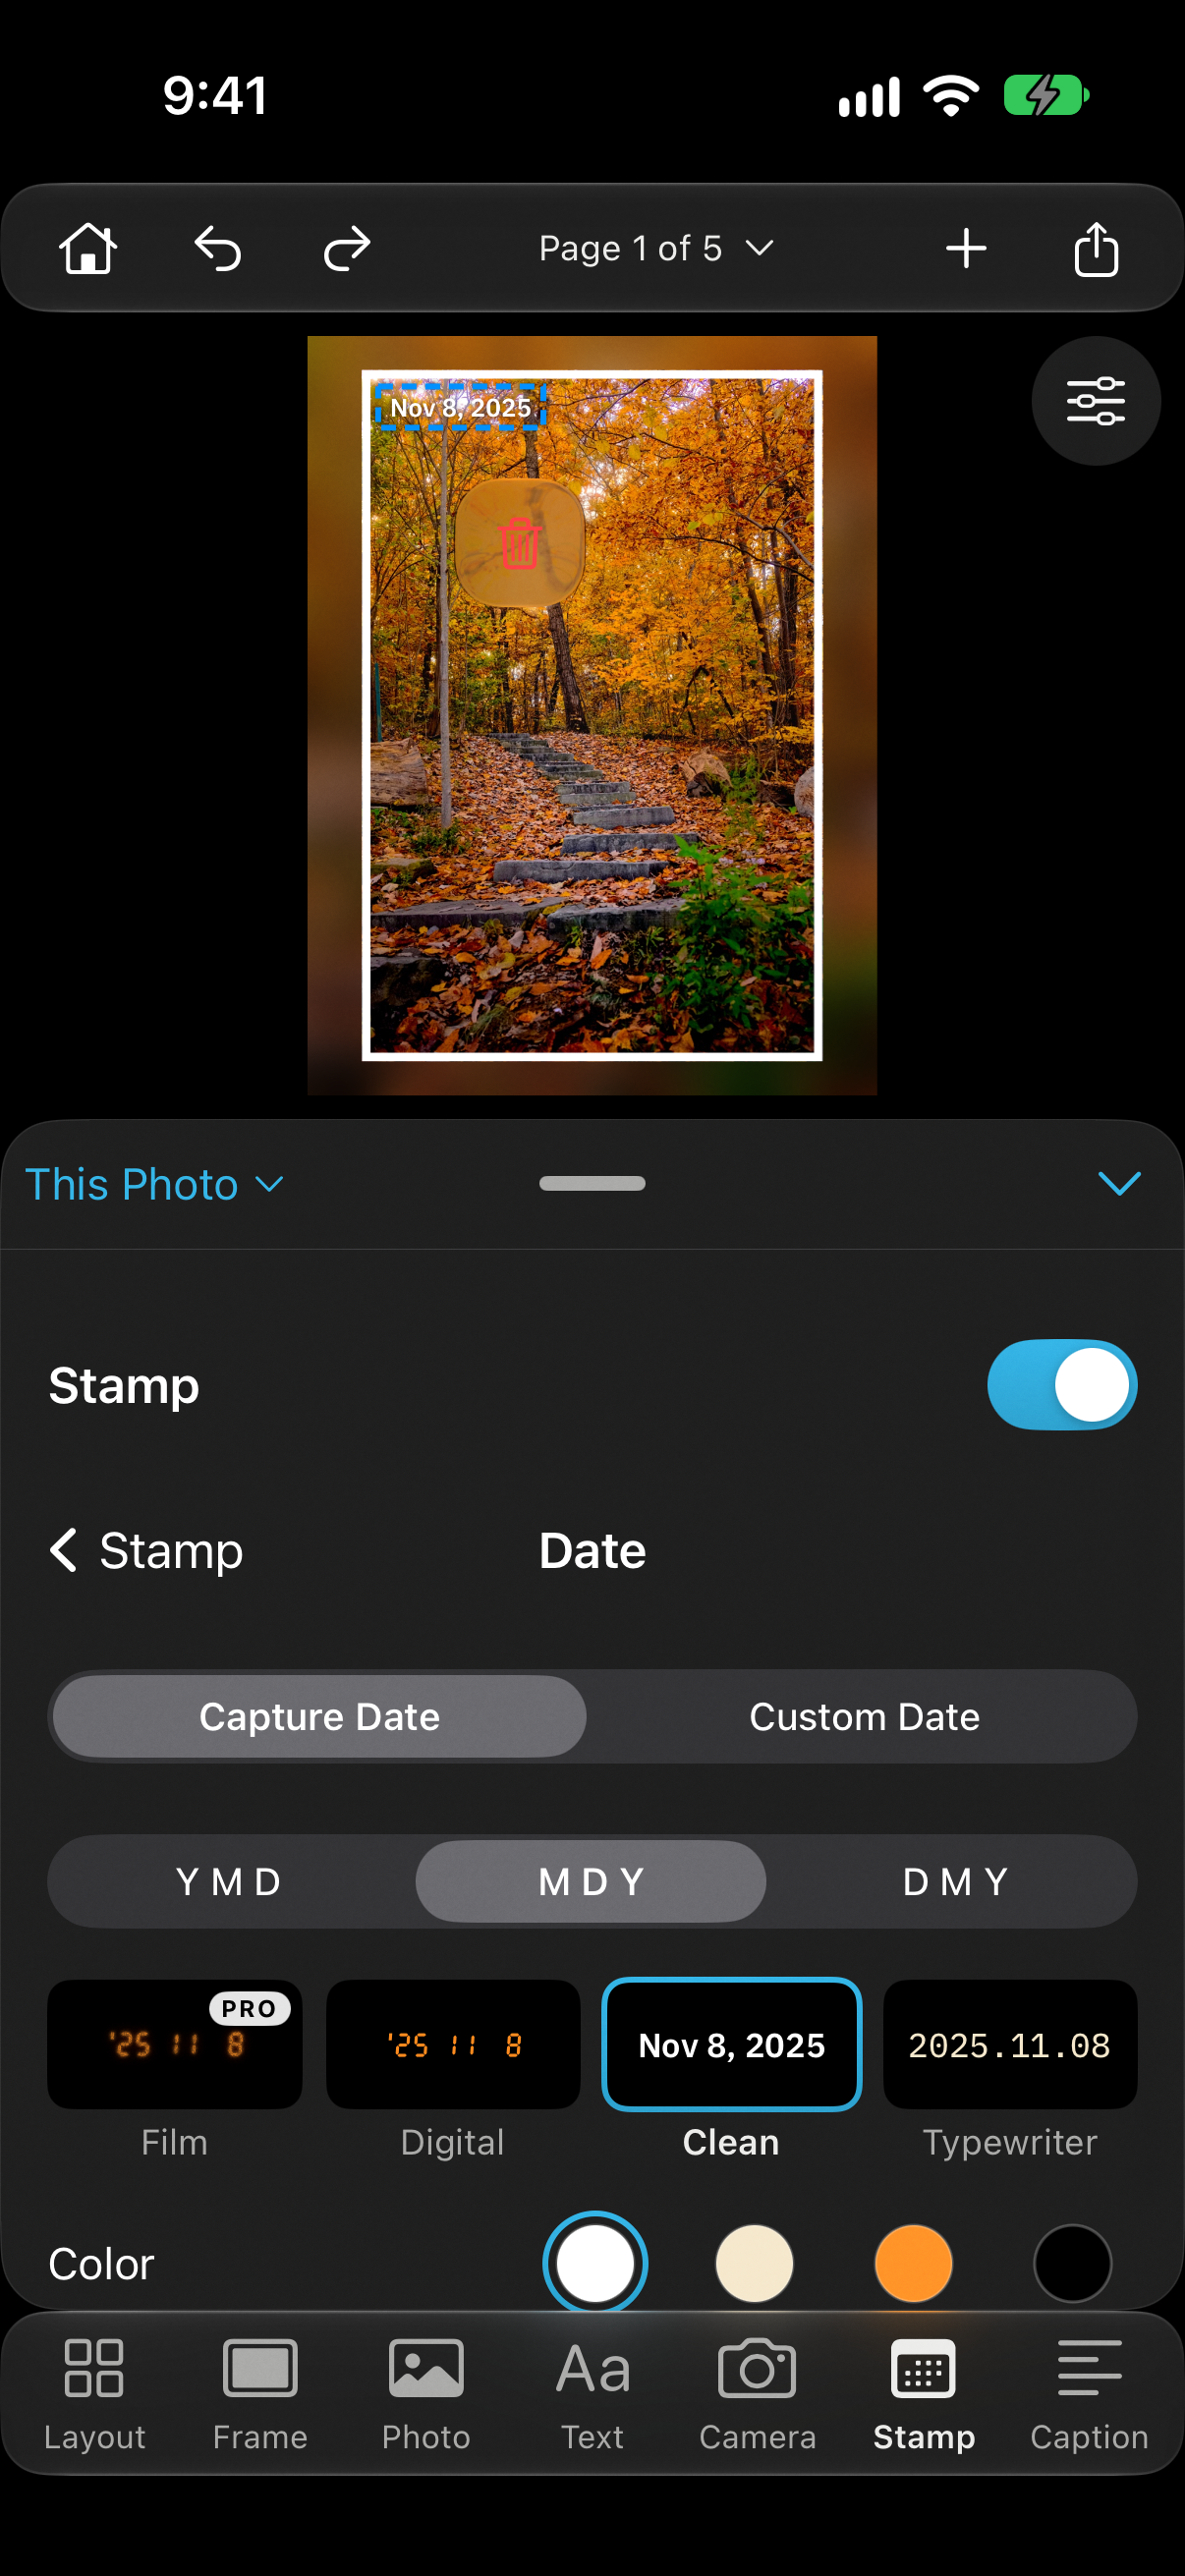
- Tap a line in the list, or the line on the photo, to open its own editor: its style, Color, Size, Opacity, Shadow, and Background. Reset puts that line back as it started. Tap Stamp at the top of the editor to return to the list.
- Drag a line on the photo to move it on its own, or use its Horizontal and Vertical sliders. Back to Stack puts it with the other lines again.
- Horizontal and Vertical run from one corner of the photo to the other. Tap a slider’s number to type a value.
- Note prints a few words you type. With several photos chosen, the same note goes on each one.
Dates and times
- Decks stamps the date the photo was taken (Capture Date). Choose Custom Date to stamp a different one, such as the date of a scanned print.
- Only the stamp changes. Your photo and its saved date stay the same.
- In the Date line’s editor, Order sets Y M D, M D Y, or D M Y.
- Time prints the time the photo was taken. If a photo has no capture date, choose Custom Date to stamp one.
Places
- Turn on Place to print where the photo was taken. Decks reads the location saved in the photo, then asks Apple Maps for a name such as “Louisville, KY.” Only the photo’s coordinates are sent.
- In Place’s editor, Show chooses how much prints: a landmark, the city, the city and state, or the country, each written as it reads for that photo.
- Tap the place to open the place editor. Type a name, or choose Look Up on the Map to search or move the pin. Use the Photo’s Own Place goes back to the name from the photo.
- Decks asks for your location only if you tap Current Location on the map, to center it where you are. Your location is not tracked or stored.
- Turn on Save as Favorite to reuse a name, such as Home, with one tap; favorites appear under Place. A favorite with a spot on the map can also use Name Every Photo Taken Here.
- Edit or forget favorites in Settings → Favorite Places. Favorite places sync through iCloud and never change your photos.
- If a photo has no location saved, type a name or look the place up. Location may have been off for Camera, or it was removed when the photo was shared.
- Exported photos keep their GPS location only if you turn on Include Location when exporting. The stamp shows only the place name.
Position and remove
- Under Position, choose a Corner: Bottom Right, Bottom Left, Bottom Center, Top Right, or Top Left.
- Drag the stamp anywhere on the page, even off the photo. Near a corner, it snaps back in. Snap to Corner returns a moved stamp to its corner.
- Sideways on Vertical Photos runs the date down the left edge of vertical photos.
- To take a stamp off, switch Stamp off, or select the stamp on the page and choose Remove Stamp.
Mac
Turn on the stamp
- Click a photo, click Stamp in the inspector, and switch Stamp on in the Date Stamp section. The stamp sits in the photo’s bottom-right corner, inside its frame. Drag it anywhere on the page; near a corner it snaps back in. Arrow keys nudge it.
- Set All Lines picks one style for every line: Film, Digital, Clean, or Typewriter. Each line can also have its own style.
- Use Apply to at the top of the Date Stamp section to change This Photo, This Page, or All Photos at once. Select several pages in the page strip to change only those. Only the setting you change is applied; each photo keeps the rest.
Choose the lines
- The list shows Date, Time, Place, and Note, with what each prints on this photo. The checkbox shows or hides a line.
- Click Edit…, or click the line on the photo, to open its own editor: Style, Color, Size, Opacity, Shadow, Background, Horizontal, and Vertical. Reset puts that line back as it started. Click Stamp at the top to return to the list.
- Drag a line to move it on its own; Back to Stack puts it with the others. Click a slider’s number to type a value.
Dates and places
- Date uses Capture Date. Choose Custom Date to stamp a different one. Only the stamp changes; your photo and its saved date stay the same. Order sets Y M D, M D Y, or D M Y.
- Place prints a name from the photo’s saved location, looked up with Apple Maps. Only the photo’s coordinates are sent. Show chooses how much of the name prints.
- Click Edit Place… to type a name or look it up on the map. Turn on Save as Favorite to reuse a name, then choose it from the menu beside Place. Edit favorites in Decks ▸ Settings… ▸ Favorite Places.
- Decks asks for your location only if you click Current Location on the map. Exported photos keep their GPS location only if you turn on Include Location when exporting.
Position and remove
- Open Position for Corner, Snap to Corner, and Sideways on Vertical Photos.
- To take a stamp off, turn Stamp off, or select the stamp and press Delete. Control-click it and choose Remove Stamp to do the same.